
Table of Contents
- Why You Might Need to Remove PPF
- Essential Tools and Materials for Safe PPF Removal
- How to Remove PPF Safely: Step-by-Step Process
- How to Remove Adhesive Residue from Car Paint
- How Long Does It Take to Remove PPF
- Risks of DIY PPF Removal You Should Know
- When to Choose Professional PPF Removal
- Aftercare: Protecting Your Paint Once PPF Is Off
- Frequently Asked Questions
Last Updated: September 21, 2026
Why You Might Need to Remove PPF
Paint protection film keeps your car’s finish safe from road salt, stone chips, and harsh weather. But sometimes you need to remove PPF safely, whether your film has yellowed, you’re selling the vehicle, or you want a fresh application.
The reasons vary. Your film might be ageing and losing clarity. You could be changing your car’s look. Or perhaps you’re preparing for a respray and need the protection off first.
Removing PPF safely matters because improper removal can damage your paint underneath. The adhesive bonds strongly to the clear coat, and rushing the job risks scratches, swirl marks, or paint peeling. That’s why understanding the correct process, and knowing when to call in professionals, makes all the difference.
Essential Tools and Materials for Safe PPF Removal
Before you start, gather the right equipment. Using proper tools protects your paint and makes the job faster.
You’ll need:
- Heat gun or heat lamp (essential for softening adhesive)
- Plastic scraper or squeegee (never use metal)
- Isopropyl alcohol or adhesive remover
- Microfibre cloths (soft, lint-free)
- Masking tape (to protect surrounding areas)
- Soapy water and wash bucket
- Clay bar (for final residue removal)
- Protective gloves and eye protection
- Well-lit workspace with good ventilation
The heat gun is your most important tool. It softens the adhesive so the film peels cleanly without tearing. A plastic scraper prevents gouges in your clear coat. Never use metal tools, they scratch easily.
Adhesive remover helps dissolve stubborn residue. Isopropyl alcohol works well and evaporates quickly. Some people prefer specialist PPF removers, but alcohol is effective and affordable.
How to Remove PPF Safely: Step-by-Step Process
Prepare Your Workspace and Vehicle
Start by parking in a dry, shaded area with good lighting. Direct sunlight can make the film peel too quickly and unevenly. Cold weather slows adhesive softening, so aim for mild temperatures if possible.
Wash your car thoroughly with soap and water. Remove any dirt or debris from the edges of the film. Dry completely with a microfibre cloth. This prevents contamination under the film as you work.
Mask off any areas you want to protect, trim, badges, or paint you’re concerned about. Use painter’s tape carefully around the film edges. This gives you a safety zone if your scraper slips.
Heat and Peel the Film
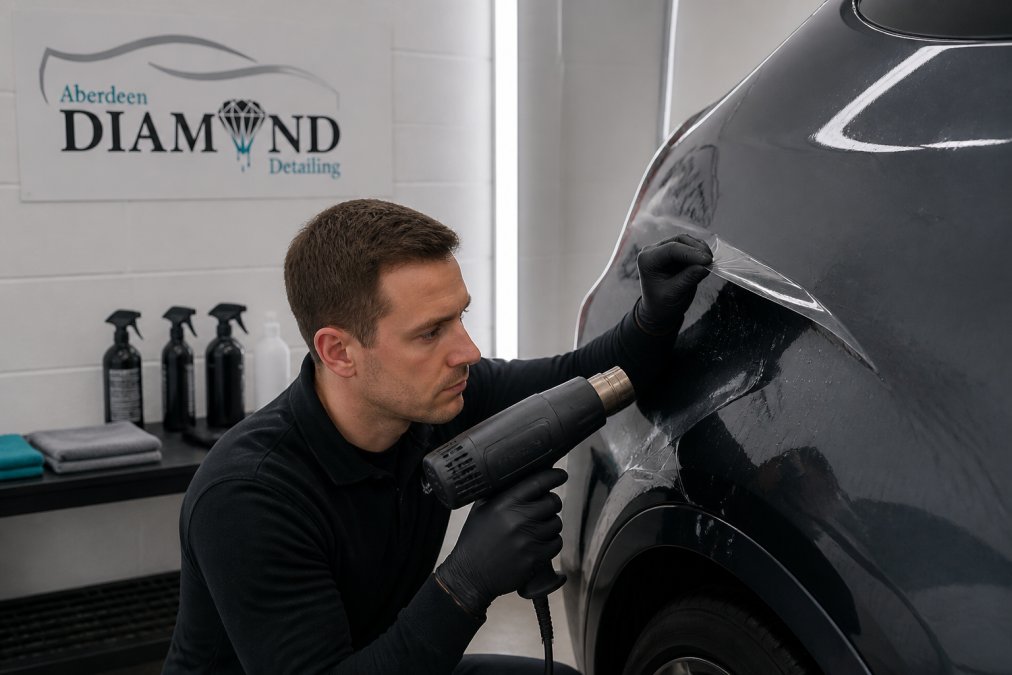
Start at a corner or edge of the film. Apply heat from your heat gun at a 45-degree angle, about 15 centimetres away. Move the gun slowly back and forth across a small section. The film should feel warm to the touch, not hot.
Once the adhesive softens, lift the corner gently with your plastic scraper. Pull the film back slowly at a low angle, nearly parallel to the surface. Rushing creates tears that leave adhesive behind.
Work in small sections. Heat, peel, repeat. If the film tears, reheat that area and try again. Patience prevents damage to your clear coat.
As you peel, the film should come away in long strips. If it’s breaking into small pieces, the adhesive isn’t warm enough. Apply more heat before continuing.
Remove Remaining Residue
After you’ve peeled all the film, adhesive residue will remain. This is normal. Spray the area with isopropyl alcohol or adhesive remover. Let it sit for a minute to dissolve the glue.
Use a plastic scraper to gently lift the softened residue. Work slowly and at a shallow angle. If residue is stubborn, apply more solvent and wait longer.
For final cleanup, use a clay bar. Dampen it with soapy water and gently rub the treated area. The clay picks up microscopic residue your scraper missed. Wipe with a clean microfibre cloth.
How to Remove Adhesive Residue from Car Paint
Adhesive residue is the trickiest part of how to remove PPF safely. Even after peeling the film, sticky patches remain bonded to your clear coat.
Isopropyl alcohol dissolves adhesive effectively. Spray it directly on the residue and let it soak for 30 seconds. Then gently rub with a microfibre cloth in circular motions. The adhesive should ball up and come away.
For stubborn spots, repeat the process. Don’t scrub hard, gentle, repeated applications work better than force. Scrubbing aggressively can damage your clear coat.
Specialist adhesive removers work faster than alcohol. Products designed for PPF removal break down the glue without harming paint. Follow the product instructions carefully.
After removing residue, wash the area with soapy water to remove any solvent residue. Dry thoroughly. Your paint should feel smooth and look clear.
How Long Does It Take to Remove PPF
The time depends on the film’s coverage area and how well it’s bonded. A small section, like a front bumper or bonnet, typically takes 1 to 2 hours. A full-body wrap takes significantly longer, often 4 to 8 hours or more.
Patience matters more than speed. Rushing increases the risk of paint damage. Many professionals recommend taking breaks to avoid fatigue, which leads to mistakes.
If you’re removing PPF from a large area, plan for a full day. The actual peeling might take only a few hours, but heating, cooling, and residue removal add time.
Risks of DIY PPF Removal You Should Know
Removing PPF safely requires skill and attention. Common mistakes can damage your paint permanently.
The main risks include:
- Scratches and swirl marks from metal tools or aggressive scraping
- Paint peeling if you pull the film too quickly
- Heat damage if you overheat the clear coat
- Incomplete residue removal leaving sticky patches
- Uneven damage if you apply heat inconsistently
- Clear coat damage from harsh chemical removers
Heat guns can scorch clear coat if held too close or in one spot too long. Adhesive removers vary in strength, some are too aggressive for delicate finishes. Metal tools scratch instantly.
Even small mistakes compound. A single scratch becomes visible once you apply new protection or ceramic coating. Your paint’s finish suffers, and repairs cost money.
When to Choose Professional PPF Removal
Professional removal protects your investment. Specialists have experience, proper equipment, and insurance if something goes wrong.
Professional removal protects your investment. Specialists have experience, proper equipment, and insurance if something goes wrong.
Professional removal is worthwhile if your car is valuable, if the PPF covers a large area, or if your paint is already compromised. A prestige vehicle deserves expert care. The cost of professional removal is modest compared to repainting a damaged panel.
Professionals also inspect your paint after removal. If damage occurred under the film, they spot it immediately and recommend correction before new protection goes on.
Aftercare: Protecting Your Paint Once PPF Is Off
Once the film is off, your paint is exposed. Protect it immediately.
Wash your car gently with soft cloths and quality car shampoo. Dry thoroughly to prevent water spots. Your clear coat may be slightly dull after years under film, that’s normal.
Consider paint correction if swirl marks or light scratches are visible. A professional detail restores gloss and smoothness. Then apply new protection, either fresh PPF or ceramic coating.
If you’re not applying new protection immediately, use a good wax or sealant. This provides temporary protection while you decide your next step. Your paint needs a barrier against the elements.
Store your car in a garage if possible. Avoid parking under trees or in direct sunlight for extended periods. These simple steps preserve your finish until you’re ready for the next layer of protection.
The goal is to keep your paint in showroom condition. Whether you choose professional PPF application, ceramic coating, or traditional wax, consistent protection maintains your vehicle’s appearance and value.
Frequently Asked Questions
Can I remove PPF myself without damageing the paint?
DIY PPF removal is possible if you work carefully and use the correct tools, but the risk of paint damage is significant. Paint protection film adheres strongly to your vehicle’s surface, and improper technique, such as using excessive force, applying heat unevenly, or using the wrong scraping tools, can scratch, swirl, or dull the clear coat. If your PPF is old or was applied over damaged paint, removal becomes even riskier. Many vehicle owners find professional removal worthwhile to protect their investment.
What temperature should the surface be for safe PPF removal?
Heat the PPF to between 40-50°C using a heat gun held 15-20 cm away from the surface. This temperature softens the adhesive without risking paint damage or warping the film. Work in small sections, allowing the heat to penetrate evenly. Avoid overheating any single area, as excessive heat can damage the clear coat or cause the adhesive to cure harder, making removal more difficult.
How long does it take to remove PPF from a full vehicle?
Professional PPF removal typically takes 4-8 hours depending on coverage area and film age. Partial removal (bonnet, wings, roof) may take 2-3 hours. DIY removal generally takes longer, expect 6-12 hours for a full vehicle if you’re working methodically to avoid paint damage. Older PPF, especially film that has yellowed or become brittle, often requires more time because the adhesive has hardened and residue is more stubborn to clear.
What are the main risks of removing PPF yourself?
The primary risks include swirl marks, scratches, or dulling of the clear coat from aggressive scraping or uneven heat application. You may also leave adhesive residue that requires specialist equipment to remove safely. If the PPF was applied over existing paint damage, removal can expose defects. Additionally, improper technique can damage trim, rubber seals, or window edges. Professional removal eliminates these risks because technicians have the right tools, experience, and insurance to protect your vehicle.